


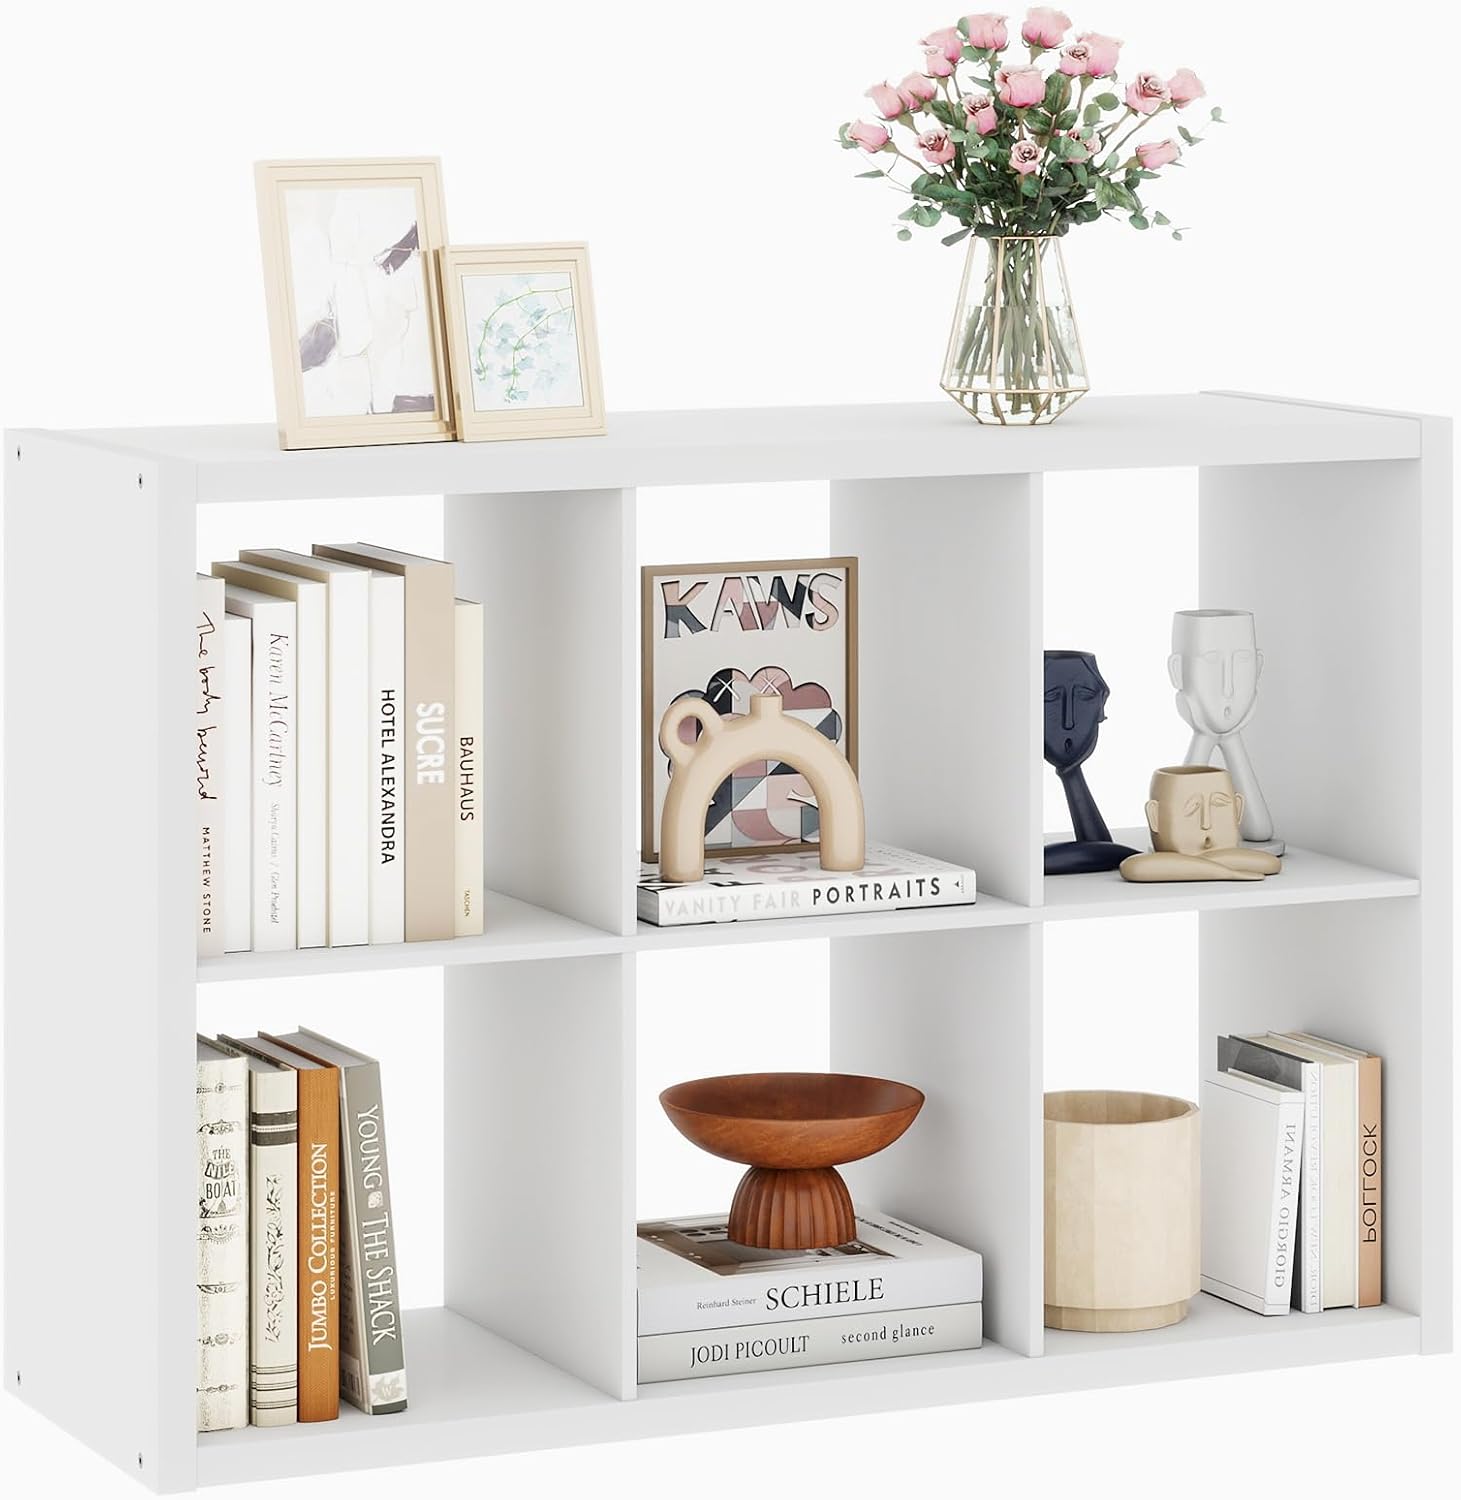


White 6 Cube Storage Organizer, 13 Inch Storage Organizer Cubes, Wooden Closet Cubby Shelving, Wood Vertical Bookshelf with 6 Cubby Shelves for Bedroom, Living Room, 14.6 x 43.8 x 30.7, White

 4.9 (61 items)
 Limited Time Sale
US$54.00 cheaper than the new price!!
Free cash-on-delivery fees for purchases over $99
Product details
| Management number | 215672575 | Release Date | 2026/04/12 | List Price | US$36.00 | Model Number | 215672575 | ||
|---|---|---|---|---|---|---|---|---|---|
| Category | |||||||||
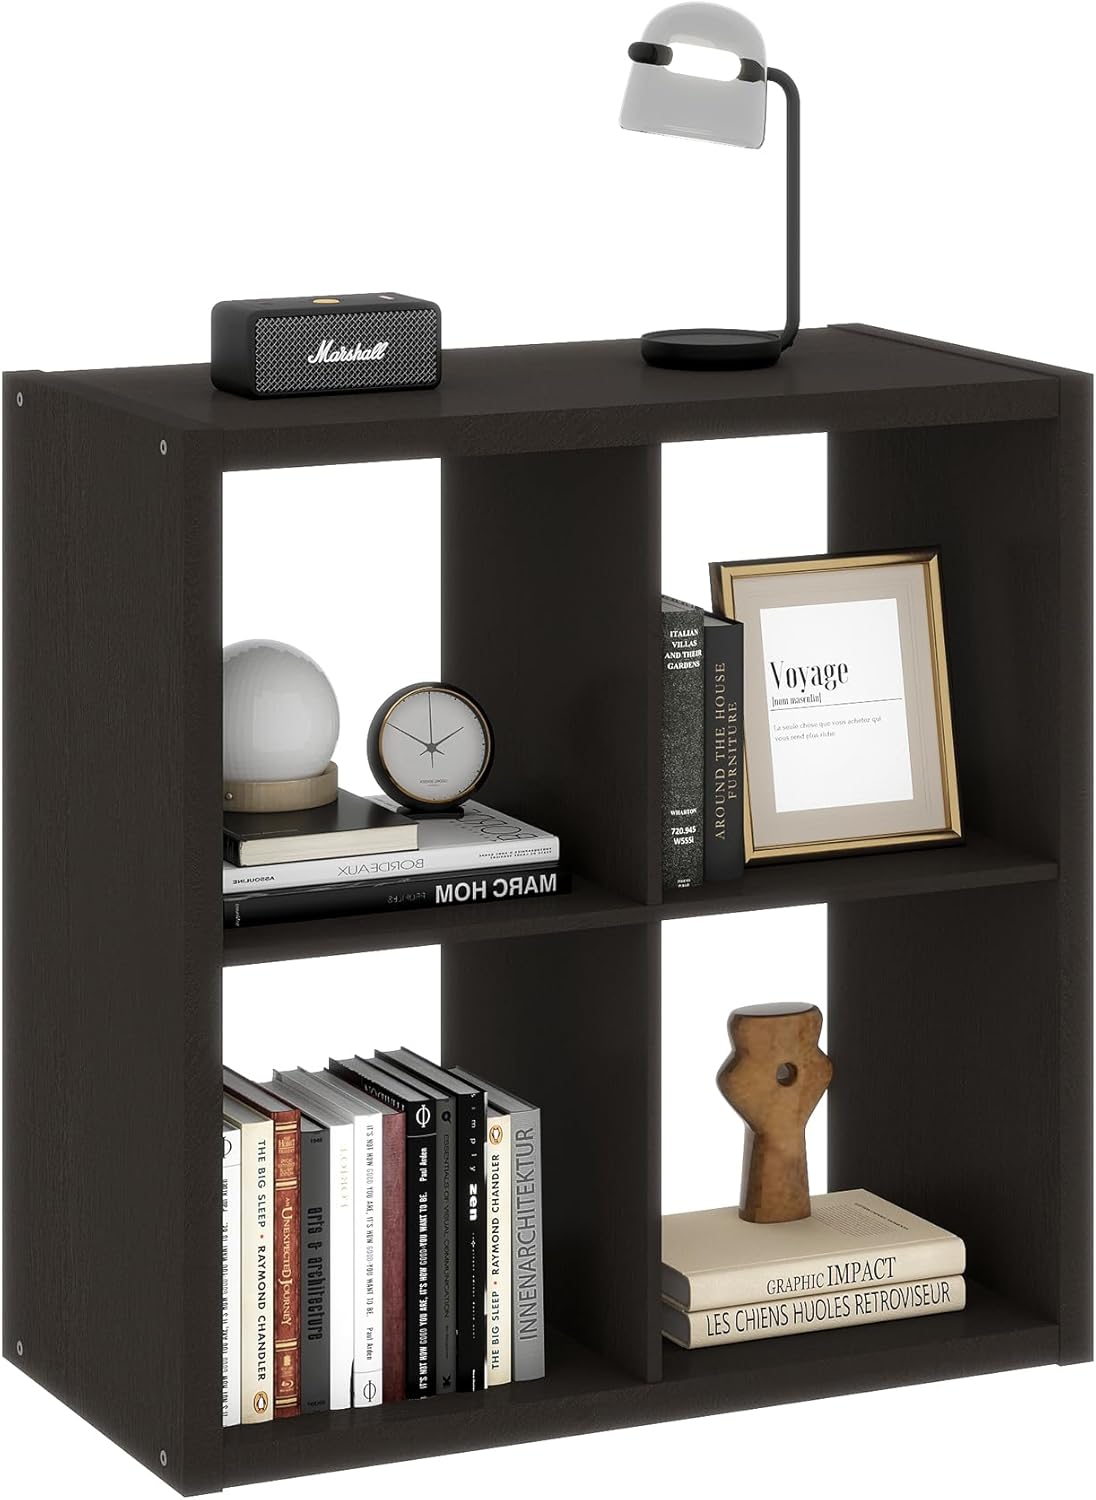
- [Adapts anywhere, stores everything] Have you ever considered: get a piece of furniture that suits everywhere? Now, the white 6 cube storage organizer can turn your ideas into reality. Think of it as a master of disguise-seamlessly transitioning from a closet organizer to a living room media center to a toy library.
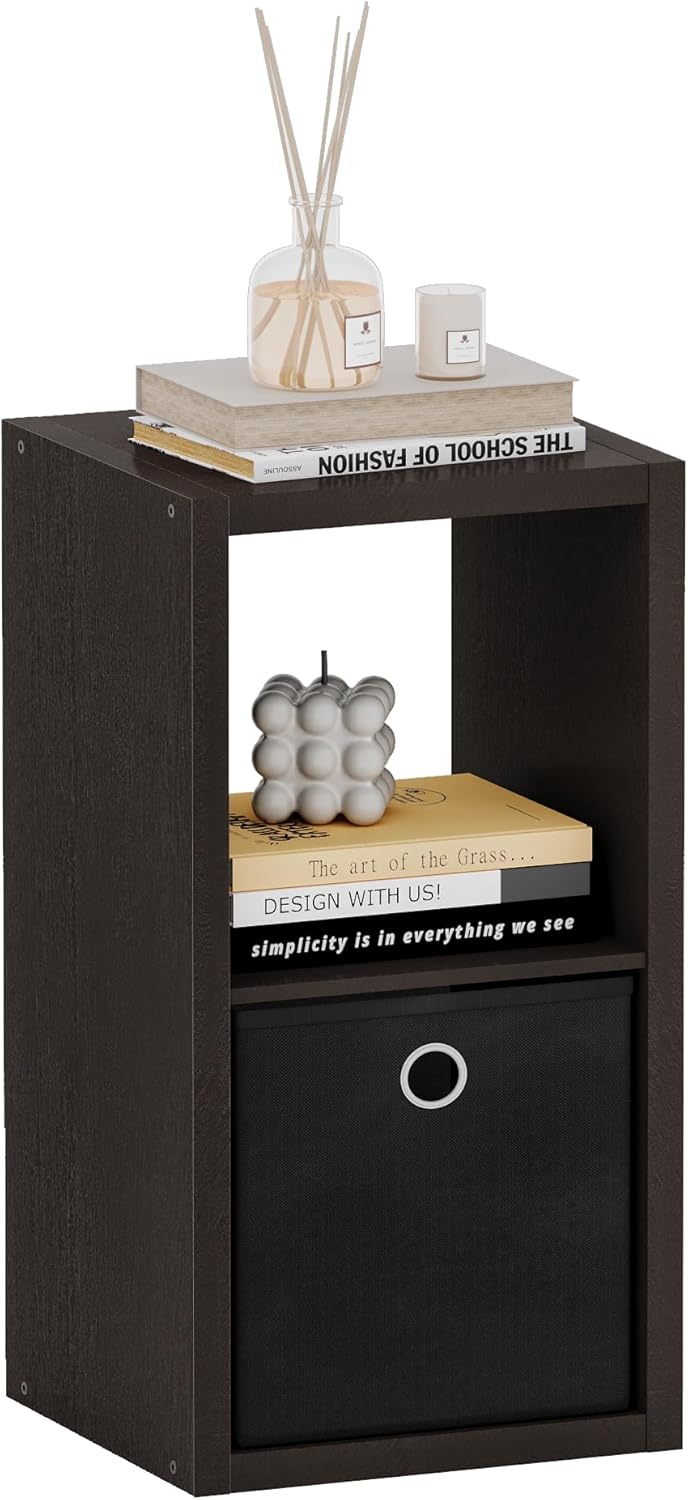
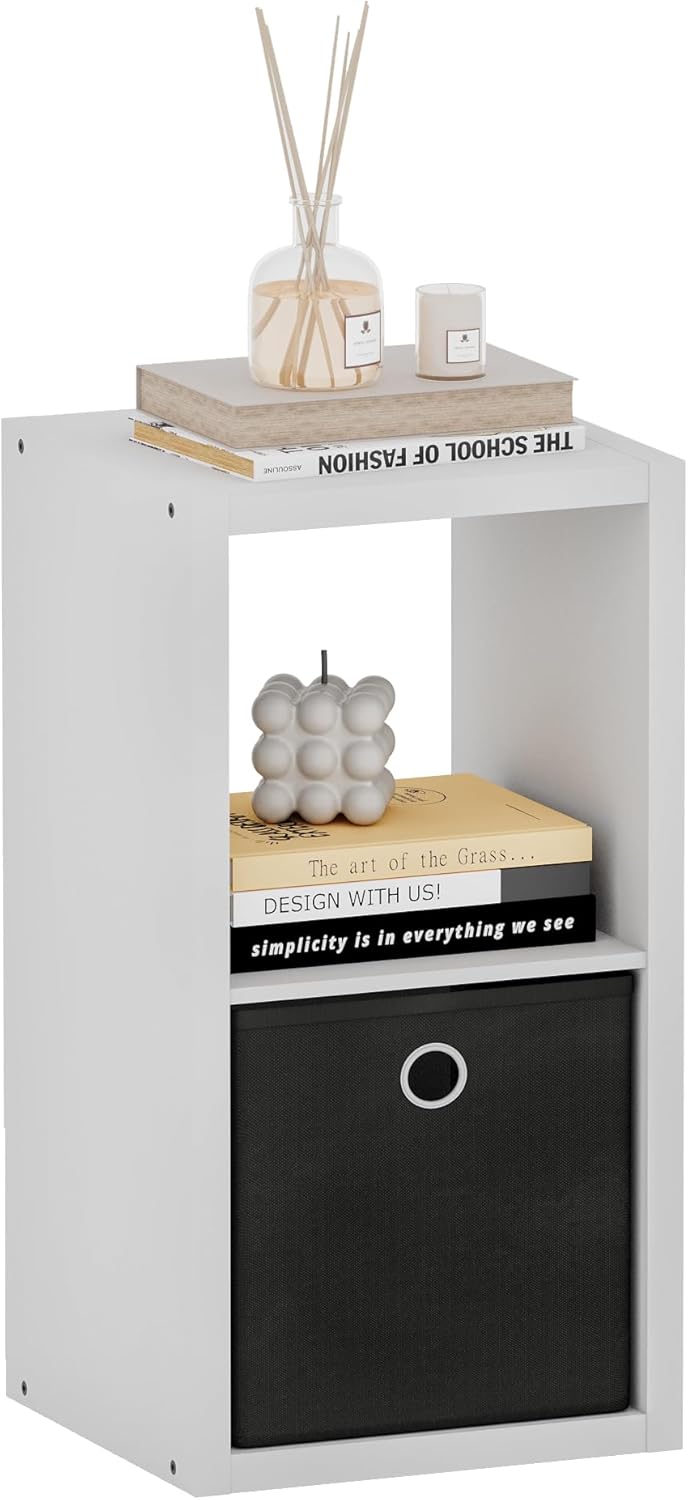
- [Spacious cubes] If you are a fan of cube fabric bins, then this 13 inch storage cubes shelf is a piece of furniture tailored just for you. The 13.5*13.5 inch space of each can be adapted to the most popular storage bins from IKEA, Target, or any home store. Choose to hide clutter or display favorites; the flexibility is yours.
- [quickly assemble] We understand that complex assembly is very frustrating. Therefore, the assembly part of the entire 6 white storage cubes shelf with clear boards and straightforward instructions. Just like children piecing together a jigsaw puzzle, with simple classification & assembly, you can get the complete white cube shelf within 40 minutes.
- [Minimalist design] Minimalist design does not equal laziness; on the contrary, it addresses people's pain points in matching the environment. You don't have to worry about where to put this cubby storage shelving- because it's suitable for anywhere.
- [Steady structure] Are you worried about the damage to your items caused by the collapse of the storage space? The wooden cube storage organizer shelf's robust frame supports up to 180 lbs total, which means it can store heavy winter clothes or 100+ books simultaneously without toppling over.

| Size | 14.6 × 43.8 × 30.7 |
|---|---|
| Color | White |
| Shape | Rectangular |
| Set Name | 6 Cube Organizer |
| Room Type | Bathroom, Bedroom, Laundry Room, Office, Playroom |
| Brand Name | VPSMAT |
| Item Depth | 14.6 inches |
| Model Name | 6 Cube Organizer |
| Shelf Type | Cubby Shelf |
| Style Name | Minimalist |
| Unit Count | 1.0 Count |
| Item Weight | 34.9 Pounds |
| Finish Types | Polished |
| Manufacturer | VPSMAT |
| Model Number | VPS-MW56562EQ |
| Product Name | 6 Cube Organizer |
| Material Type | Engineered Wood |
| Mounting Type | Floor Mount |
| Item Dimensions | 14.6 x 43.8 x 30.7 inches |
| Number of Items | 1 |
| Shelf Thickness | 1.2 Inches |
| Weight Capacity | Maximum weight: 235 Pounds |
| Furniture Finish | Engineered Wood |
| Installation Type | Freestanding |
| Number Of Shelves | 6 |
| Required Assembly | Yes |
| Additional Features | Durable, Portable, Space Saving |
| Included Components | Hardware, Instructions, Wood shelvs |
| Shelf Bracket Shape | Curved |
| Age Range Description | Kid |
| Weight Capacity Maximum | 235 Pounds |
| Manufacturer Part Number | VPS-MW56562EQ-PN |
| Item Dimensions D x W x H | 14.6"D x 43.8"W x 30.7"H |
| Product Care Instructions | Wipe with Damp Cloth, Wipe with Dry Cloth |
| Specific Uses For Product | Books, Clothes, Decorative Items, Shoes |
| Minimum Required Door Width | 43.8 Inches |
| Recommended Uses For Product | Corner, Home Decor, Storage |
| Assembly Instructions Description | (1) Find the sockets where boards C and D can be inserted into connector 1, insert the wooden plugs and connect 4 boards C and 1 board D (board C uses a total of 12 wooden plugs, board D uses 4 wooden plugs) (2) Link 2 wooden boards B and C so that D and B are in a horizontal position (3) Connect 2 wooden boards A and B in a vertical position, and fix them using connector 2 (connect 8 connectors 2 from wooden board A) (4) To fix the product on the wall, fix the fixing plug 3 onto the product using connector 4, and insert connector 5 into the wall |
Bestseller ranking
Bookcases


Correction of product information
If you notice any omissions or errors in the product information on this page, please use the correction request form below.
Correction Request Form